When Mia and Jordan decided it was time to update their kitchen, they quickly realized that nothing would make a bigger impact than new countertops. Their scratched laminate and outdated beige tiles weren’t just unattractive—they were dragging down the entire space.
Inspired by the idea that a home should tell your story (thanks, Nate Berkus!), they set out on a countertop journey that changed everything. Here’s how they did it—and how you can too.
Step 1: Recognize the Need for Change
Mia was baking one evening when her rolling pin snagged on a deep gouge in the countertop. Jordan said, “Maybe it’s finally time.”
If your countertops are stained, cracked, or just plain tired, it’s not just a cosmetic issue—it’s a sign your kitchen is ready for new life.
Step 2: Set a Budget (and Stick to It)
Mia and Jordan agreed upfront on a budget range—smart move.
They factored in material, installation, and a small buffer for unexpected costs.
They prioritized quality over trendiness, knowing timeless choices would serve them longer.
Nate’s Tip: Good design balances aspiration and practicality.
Step 3: Choose the Right Material
They explored all the options:
Quartz: Durable, non-porous, wide range of styles
Granite: Natural, beautiful, unique patterns
Marble: Elegant but high maintenance
Butcher Block: Warm and inviting, but requires regular care
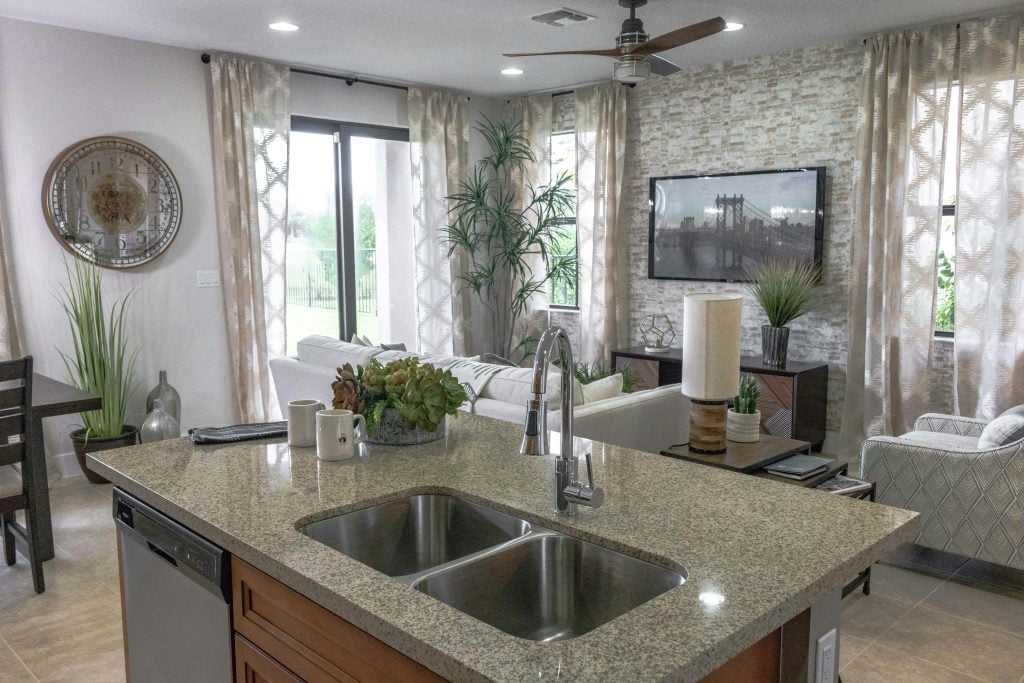
Ultimately, they chose a soft, marble-look quartz—timeless, durable, and stunning.
Design Insight: Choose a material that matches your lifestyle, not just your Pinterest board.
Step 4: Select a Color and Finish
Instead of going ultra-modern or ultra-traditional, they picked a neutral tone that bridged both styles—a subtle veined white with a soft matte finish.
Key Detail: The finish matters. Matte or honed surfaces feel modern and forgiving. High-gloss finishes can look luxurious but show every fingerprint.
Step 5: Plan for Installation
Professional installation was non-negotiable.
The team templated the counters precisely.
They scheduled demo and installation to minimize kitchen downtime.
They prepared by clearing everything—yes, everything—off their old counters.
Pro Move: Investing in experienced installers made the difference between “good enough” and “absolutely perfect.”
Step 6: Accessorize Thoughtfully
New countertops deserve beautiful accessories. Mia and Jordan updated their backsplash with handmade tiles and chose a few simple, elegant items—like a marble fruit bowl and brushed brass faucet—to finish the look.
Nate’s Design Wisdom: Less clutter, more impact. Let your materials shine.
Final Thoughts
Mia and Jordan’s kitchen wasn’t just upgraded—it was transformed into a space that felt authentically them. Elegant, durable, personal.
Nate Berkus would say: The best rooms tell your story—and in this case, the story started with the perfect countertops.
Call to Action
Ready to start your own countertop transformation? Our team can help you choose the right material, style, and finish—and bring your dream kitchen to life.